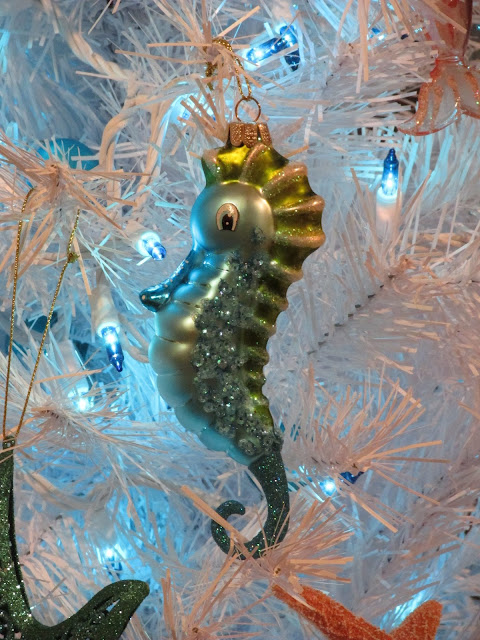
I'm dreaming of a Coastal Christmas.......

Thursday, December 10, 2015
Thursday, September 17, 2015
DIY Vintage Tea Towel Aprons
DIY Vintage Tea Towel Aprons
These are fun and easy to make. My MIL embroidered these tea towels years ago and she had enough to make each one of her girls an apron. I started by purchasing fabrics to match the colors at Wal-mart's fabrics in their craft section. You can get about 3 tie bands for the top of the aprons from 1 yard of 44" wide fabric. Pre-wash the fabric and then fold the fabric in half lengthwise with right sides together. Press. Cut 2 of the tie band length with a measurement of 41 1/4 inches long by 4 inches wide. Or you can just cut to the ends, whichever you prefer. With right sides together, sew a 1/4 inch seam at one end of the tie band. Make sure your fabric design runs in the same direction before sewing.
If you use a fabric that has a wider design like the cupcake fabric I used for the apron on the far right in the top photo, you can cut the width of the fabric 4 1/2 inches instead. That way you can get the entire design in the tie after it's folded over. After you have sewn your middle seam of the tie band, find the middle of your tea towel. As you can see, I made two tea towels with a smaller towel folded in half. These make a kind of bar maid apron. The other apron with the cupcake tie band is made out of one of the larger tea towels my MIL had. I just gathered the top fold of the tea towel on that one. It works well to fold the towels in half with your design in the lower right hand corner. This makes for a nice thick apron for spills and splashes.
Once you've found the middle of the tea towel with the design facing up, place the seam of the tie band at the middle of the tea towel. With right sides together along the top folded edge of the tea towel, pin in place. Here's the tricky part. Make sure when you lay the tie band over the towel at the edges, you have your design upside down with the wrong side showing. That way when you fold it up and over to the back of the towel, your design will be right side up. I do hope I'm making sense here. I quickly put these aprons together. I'm making more aprons and when I do, I will post photos of each direction below. Hope that will help.
Sew a 1/4" seam along the edge of the tea towel and tie band. Start and stop sewing at the two edges of the tea towel. Press the seam up on the wrong side toward the top of the tie band. Continue pressing a 1/4" fold along the bottom and top of the tie band. At both of the ends of the tie band, press in 1/4" of the fabric. Fold the tie band over with wrong sides together. Pin in place. Finish sewing along the edge of the tie band starting at the ends, pivoting and sewing across the front of the apron to the other end. Pivot and finish closing the other end of the tie. And you're done! Press the apron and tie band and now you're ready to bake!
Wednesday, August 26, 2015
Lavender Love
Lavender Love

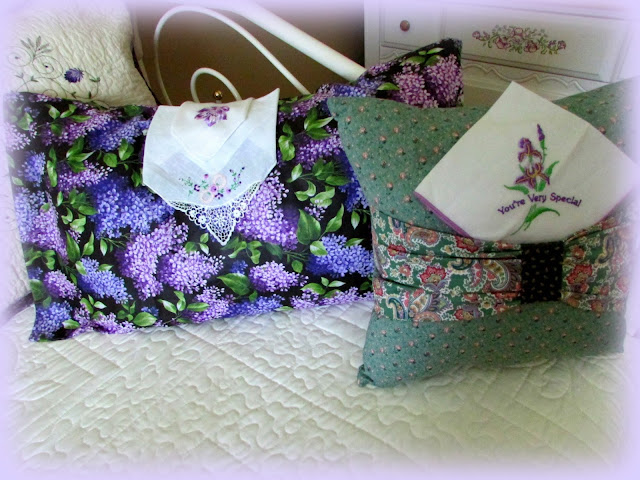
I made the pillow cover using fabric from JoAnn's Fabrics. The pretty hankies laid upon the pillow are from my mother-in-law's collection.
Here is another pillow with a hankie my mama gave me a few years back.
Wall sconce lamp holders from 1881. These came from my mother-in-law's home. They were originally her mom's. We had them sand blasted and I then painted them in the heirloom white color. I added the candle and embellishments. I love Shabby Chic and this is my first try at decorating using the theme. I found the darling scissors at Hobby Lobby in honor of my mama.
This sconce I was able to find the spoons and fork at Hobby Lobby in honor of my mother-in-law. These were fun to decorate.
Wednesday, June 17, 2015
Thursday, May 14, 2015
Jungle Babies Diaper Cake
Jungle Baby Diaper Cake
For this Diaper Cake you will need:
1/2 yard baby decor flannel (Tier 1)
1/2 yard baby decor matching flannel (Tier 2)
1/2 yard baby decor matching flannel (Tier 3)
1/2 yard baby decor flannel (Tier 1)
1/2 yard baby decor matching flannel (Tier 2)
1/2 yard baby decor matching flannel (Tier 3)
Contrast thread to match the fabrics
Ribbon
Trim to match the fabrics
Ribbon
Trim to match the fabrics
Diaper Pins with the plastic head in a color to match the fabrics
1 package in size 2 of 35 diapers (Huggies works well and makes Mom happy)
(Buttons, stuffed animals, pacifiers, flowers, whatever you want to decorate the cake with)
1 package in size 2 of 35 diapers (Huggies works well and makes Mom happy)
(Buttons, stuffed animals, pacifiers, flowers, whatever you want to decorate the cake with)
Package of clean rubber bands that can be found in any craft department.
Cardboard cake plate (can be found in Wal-mart's cake decorating isle. Used to set your cake on)
Cardboard cake plate (can be found in Wal-mart's cake decorating isle. Used to set your cake on)
Gift wrap or any printed paper to cover the cardboard cake plate
You will start by covering the cardboard cake plate with the printed, decorative paper. First, place the cardboard plate to the unprinted side of the paper and trace around it. Cut around your trace line. I used Mod Podge on the back of the paper and then press it to the plate. Set aside to dry.
Next, you will make three flannel burp cloths for the cake. These will serve as "fondant" for around the cake tiers. Be sure to pre-wash the flannel fabric for shrinkage.
To make your "fondant" covering for each tier, press the fabric and open flat. Measure each length for each tier as instructed below. Use a scalloped edge on your sewing machine with the matching color contrast thread. Sew each panel or tier using the scalloped edge at 1/2 of an inch in from the edge of the fabric sewing around each side. Clip the fabric away from the scalloped edges. Fold the burp cloth in half lengthwise. Set aside. Roll each diaper and secure with a rubber band. Take the rolled diapers and set upright in a round position. Wrap the burp cloth around the rolled diapers and secure with one of the diaper pins. Do this for each tier. To make the washcloths, square up the remaining fabric. Do the same as you did for the burp cloths with the scalloped edges. These will make the size of animals you see in the photo.
Bottom Tier. Cut one panel 31 inches in length by 10 inches in width. Save remaining fabric for washcloth animals. Holds 20 rolled diapers secured with a rubber band on each diaper.
Middle Tier. Cut one panel 25 inches in length by 10 inches in width. Save remaining fabric for washcloth animals. Holds 9 rolled diapers secured with a rubber band on each diaper.
Top Tier. Cut 21 inches in length by 10 inches in width . Save remaining fabric for washcloth animals. Holds 6 rolled diapers secured with a rubber band on each diaper. You can experiment with how many diapers you'll need for each tier depending on how tightly you roll the diapers.
Once you finish each tier, fold each tier in half lengthwise to where they measure 5 inches in width. Wrap each tier around the stacks of diapers with the scalloped edges at the bottom of the tier. Now stack them as shown in the photo. Here is a great tutorial on how to stack your diaper cake over at All Free Holiday Crafts.
https://content.primecp.com/master_images/files/Untitled%20design%20(4).pdf
The following links show how to make the baby animal washcloths to set on your completed cake. You will need to finish the edges of the washcloths the same way you did for the burp cloths. The extra fabric will be enough to create at least one elephant washcloth animal. You can make more washcloths depending how much fabric you have left over.
For 5 baby animal washcloths ~
https://www.youtube.com/watch?v=chtAbkGKrws
For Elephant washcloth ~
https://www.youtube.com/watch?v=b6NRElGcf1I
Now you can finish decorating your diaper cake anyway you like with your washcloth animals, small stuffed animals, pacifiers or any baby item that will go with the theme of your cake. Be sure to add along with the diaper cake a little note explaining the pins or item(s) you used to secure the burp cloths and wash cloths and their safe removal. Have fun!
A big thank you to Nails and Towels and Sillychely over at YouTube for their great video tutorials! You can find the Jungle Babies fabrics at JoAnn's Fabrics.
Here is another diaper cake I did for my niece's baby shower. The "cake" is decorated in a baby dinosaur theme.
Wednesday, April 1, 2015
Sunday, March 22, 2015
A House For All Seasons ~ Gone to the Beach
This house was a lot of fun to make way back when. I added my own cross stitch embellishments of a beach theme. You can find the instruction book from Astor Place over at Amazon at the following link:
http://www.amazon.com/House-All-Seasons-Perforated-Stitch/dp/B002USFBLS
It's a pattern book from the eighties.
The "yard sign" is taken from the following pattern. I made the image smaller.
http://www.everythingcrossstitch.com/beach-huts-mrp-p36603.aspx?k2=e1
For your own printable cross stitch graph paper in any size you need you can go to this link.
http://www.stitchpoint.com/eng/tool/grid/_intro_graphpaper.php
Subscribe to:
Posts (Atom)


