 Stained Glass and Art Studio designed by my husband, Larry and myself. This was fun to put together down in the northwest side of the basement. I'm looking forward to getting started in my new studio!
I'm excited about the bulletin board Larry built for my grand kids when they come and do their artwork with me. Now they have a great place to display their art. I'm really proud of that wall Larry added with drywall too! He's so talented!
Here is my art and stained glass table Larry built. It is 78" x 43". The bottom shelf is 74" x 39". Plenty of room for 4 people to work their art magic on
at one time.
Here is the top and I love the idea of the strips of wood down the left and bottom edges of the table. Now I can build any size stained glass window. Can't wait to get started!
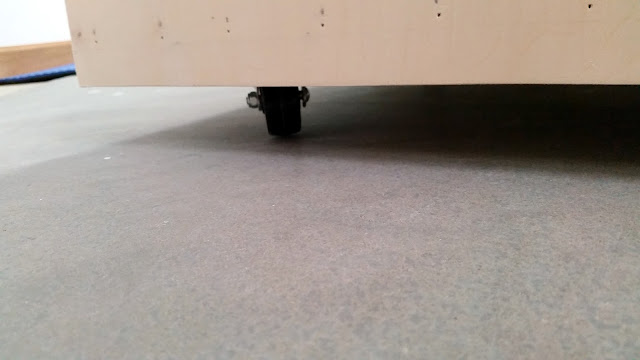
Another bonus is the wheels Larry attached to the bottom of the table. Easy to move out of the way if I need to
have more room.
Here is the table with a heavy plastic table cloth covering the top that we will use for scrapbooking, painting
art work and more!
Another Pinterest Idea I couldn't resist! I love this look of cross stitching on a peg board. Such a neat idea by painting on the "threads". My thanks goes out to Haley Pierson~Cox over at makezine.com. Thank you Haley, for this fun idea!
Larry picked up this hunters cleaning table at Menard's. I thought it would work great in the studio to set my glass grinder on. The water can drain into the drain groove that you can see runs around the edge of the table on that left side and into the sink. Water will splash out the back of the grinder at times when you're using it and can collect on a table or counter. I'm anxious to try this idea out. I'll keep you posted on how it works.
Shot up top of the Hunters Cleaning Table. Love the splash guard Larry made out of plexiglass.

I am thrilled with Larry's idea of getting PVC pipes for storing
my zinc and lead came. I have the lead came in the large PVC pipe.
The end for the back of the large pipe is a clean out cap and the other
end of the pipe has a screw on cap. Works great and they are up and out
of the way in the studio. The small one holds the zinc came. It has a screw on cap at one end and a slide on cap at the
other end.
Screw On Cap on the Large Pipe
Lead Came Inside the Large Pipe
Screw on Cap on the Smaller Pipe
Zinc Came Inside the Smaller Pipe
Larry built this awesome cabinet for my stained glass sheets out of 3/4 inch and 1/2 inch plywood. I love it! It has doors and a panel on the back with wheels on the bottom so that I can turn the front of the cabinet to the
wall when I'm not using the glass.
Great safety feature! Especially when there are children in the studio for the day.
Doors open to the front. I really like the idea of being able to store glass in the front of the cabinet and also in the back. The cabinet is 24 inches deep by 18 inches wide and stands 36 1/2 inches tall. That height is without the wheels. They add about another 2 inches.
3/8 inch Dowels were used as dividers for the glass. I really like this idea because when the doors in the back are open, I can see all the colors of glass well. A big thanks to everyone over at everythingstainedglass.com for this great idea!
That's my Studio! Looking forward to wine and painting classes with friends and family and of course, stained glass crafting! Happy Creating!!


